DIY Secondary Glazing vs Professional Installation: What's the Difference?
Dr Sarah Chen
Building Physics Consultant

Search online for "secondary glazing" and you'll find two very different worlds: professional installation companies quoting thousands of pounds, and DIY kits available for a few hundred. The price difference is dramatic—but is the performance difference equally significant?
Let's break down exactly what you get with each approach, so you can make an informed decision for your property.
DIY Secondary Glazing Options
Magnetic Acrylic Panels
Cost: £30-£80 per window
What you get: Acrylic or polycarbonate sheets with magnetic strips that attach to steel tape stuck around your window frame.
Pros:
- Very affordable
- Easy to remove for cleaning or summer
- No permanent fixings
Cons:
- Poor seal quality—magnets don't create airtight contact
- Acrylic scratches easily and yellows over time
- Looks cheap—obvious "stuck-on" appearance
- Limited noise reduction (15-20dB typical)
- Not suitable for period properties
Shrink-Film Kits
Cost: £5-£15 per window
What you get: Plastic film stretched over double-sided tape and shrunk with a hairdryer.
Pros:
- Extremely cheap
- Reduces draughts noticeably
- Invisible if applied carefully
Cons:
- Seasonal solution only—must be replaced each winter
- Windows cannot be opened
- Tears easily
- Minimal noise reduction
- Condensation can form between film and window
DIY Fixed Panel Kits
Cost: £100-£250 per window
What you get: Aluminium or plastic frames with glass or acrylic, screwed or clipped into your reveal.
Pros:
- More substantial than magnetic options
- Real glass available for better optics
- Decent draught reduction
Cons:
- Standard sizes rarely fit exactly—gaps inevitable
- Frame profiles often chunky
- No opening mechanism—ventilation requires removal
- DIY fitting rarely achieves proper seal
Temporary and Removable Secondary Glazing Kits
Many people searching for temporary secondary glazing or removable secondary glazing want something they can put up for winter and take down in summer. There are three common types of secondary glazing kit:
- Shrink film kits: plastic film stuck to the frame with tape and tightened with a hairdryer. Cheapest, but lasts one season and cannot be opened.
- Magnetic acrylic panels: a sheet held on with magnetic strips, which can be lifted off for cleaning or summer storage. See magnetic secondary glazing.
- Clip-in or channel kits: a plastic channel screwed to the reveal, with acrylic or glass panes that slot in.
These suit renters, small windows and tight budgets. Their limits are the seal, the thin acrylic and the lack of an opening mechanism, so they do little for noise. If you want a removable option with proper performance, professionally fitted lift-out secondary glazing can be taken out seasonally while still using real glass and made-to-measure seals.
Professional Secondary Glazing
Cost: £300-£800 per window (depending on size, glass type, and specification)
What you get: Bespoke frames manufactured to exact measurements, professional installation with proper sealing, choice of glass types, and opening mechanisms matched to your original windows.
Key Differences
1. Made-to-Measure Fit
Professional secondary glazing is manufactured to the millimetre based on precise site measurements. Old buildings are never perfectly square—professional installers accommodate this with bespoke frames and adjustable seals. DIY kits use standard sizes and ask you to "make do."
2. Proper Sealing
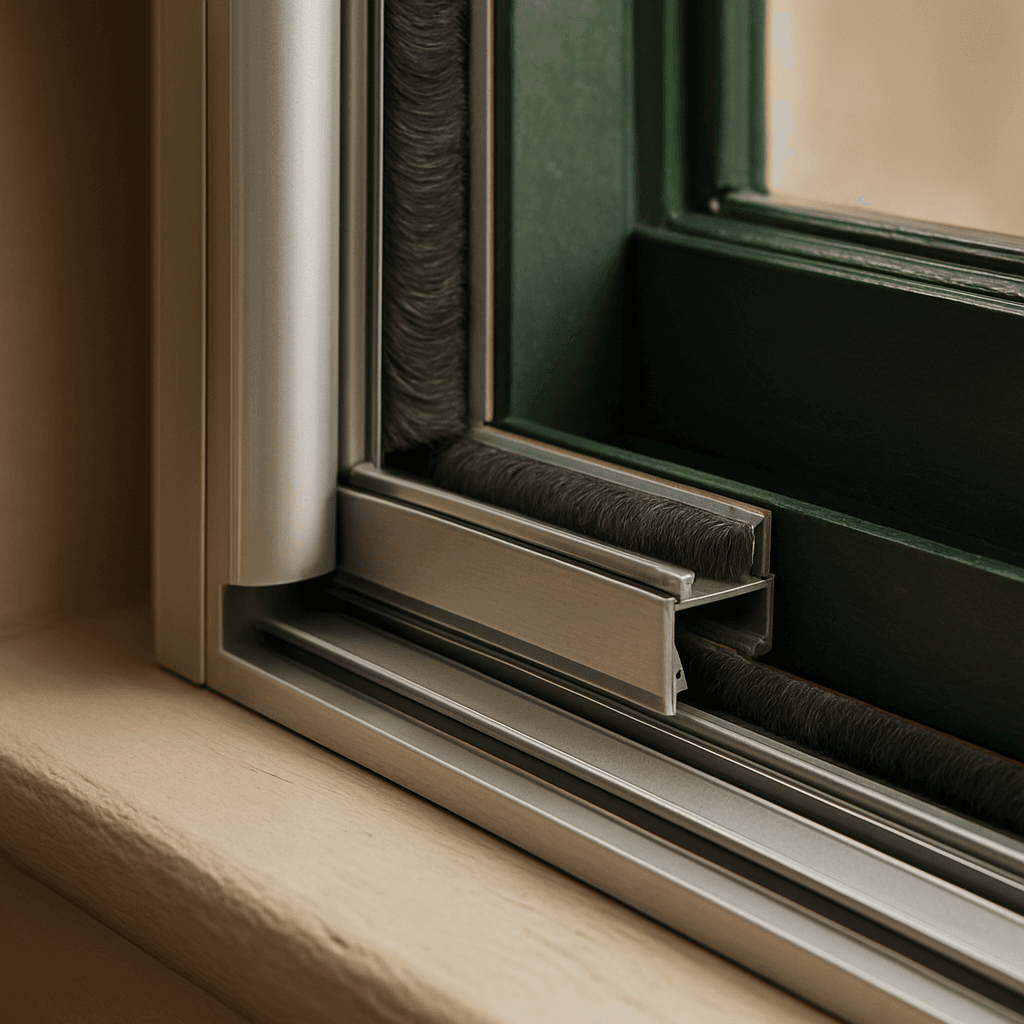
The acoustic and thermal performance of secondary glazing depends almost entirely on creating an airtight seal. Professional installation uses compression seals, brush seals, and proper gaskets. The frame-to-reveal junction is sealed with appropriate materials. DIY installations rarely achieve this level of airtightness.
3. Glass Specification
Professional installations offer choices:
- Standard 4mm float glass
- 6.4mm or 6.8mm acoustic laminate
- 10.8mm acoustic laminate for maximum noise reduction
- Low-E coatings for improved thermal performance
- Toughened safety glass where required
DIY kits typically offer only standard glass or acrylic with no acoustic properties.
4. Opening Mechanisms
Professional units can be specified with:
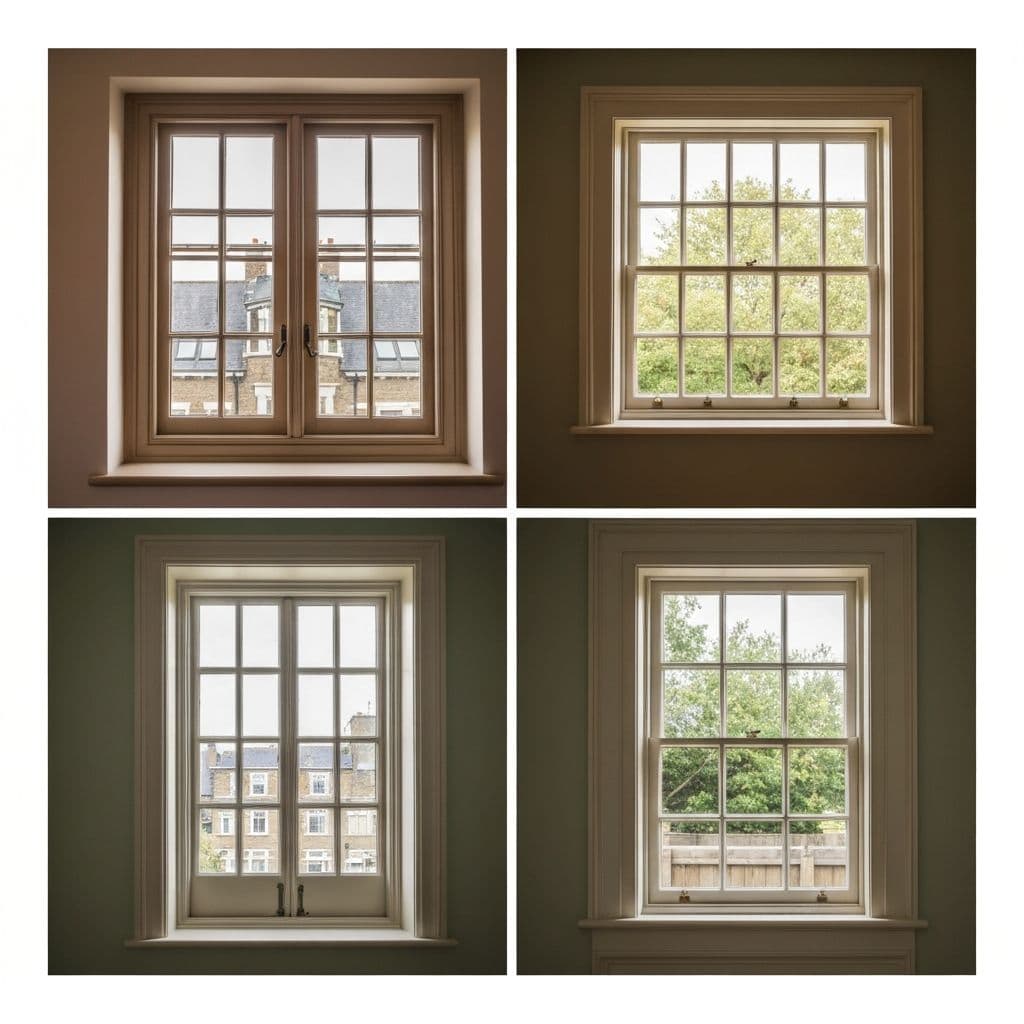
- Vertical sliding (matching sash windows)
- Horizontal sliding
- Side-hung or top-hung casements
- Tilt-and-turn
- Lift-out panels
This means you retain full use of your windows for ventilation and cleaning.
5. Aesthetic Quality
Heritage-grade professional secondary glazing uses slim aluminium profiles (20-25mm) that can be powder-coated to any RAL colour. Meeting rails align with original window divisions. The result is discrete—often invisible to casual observation.
DIY solutions invariably look like what they are: an afterthought.
Performance Comparison
| Measure | DIY Magnetic/Film | DIY Fixed Panel | Professional Installation |
|---|---|---|---|
| Noise reduction | 10-18dB | 18-25dB | 35-54dB |
| Draught elimination | Partial | Moderate | Complete |
| Heat loss reduction | 15-25% | 30-45% | 50-65% |
| Lifespan | 1-3 years | 5-10 years | 25+ years |
| Suitable for listed buildings | No | No | Yes |
When DIY Makes Sense
DIY secondary glazing can be appropriate when:
- You're renting and can't make permanent changes
- Budget is extremely tight and any improvement helps
- The property is temporary (e.g., you're selling soon)
- Noise isn't a concern—just basic draught reduction needed
- The windows are modern and characterless anyway
When Professional Installation Is Worth It
Invest in professional secondary glazing when:
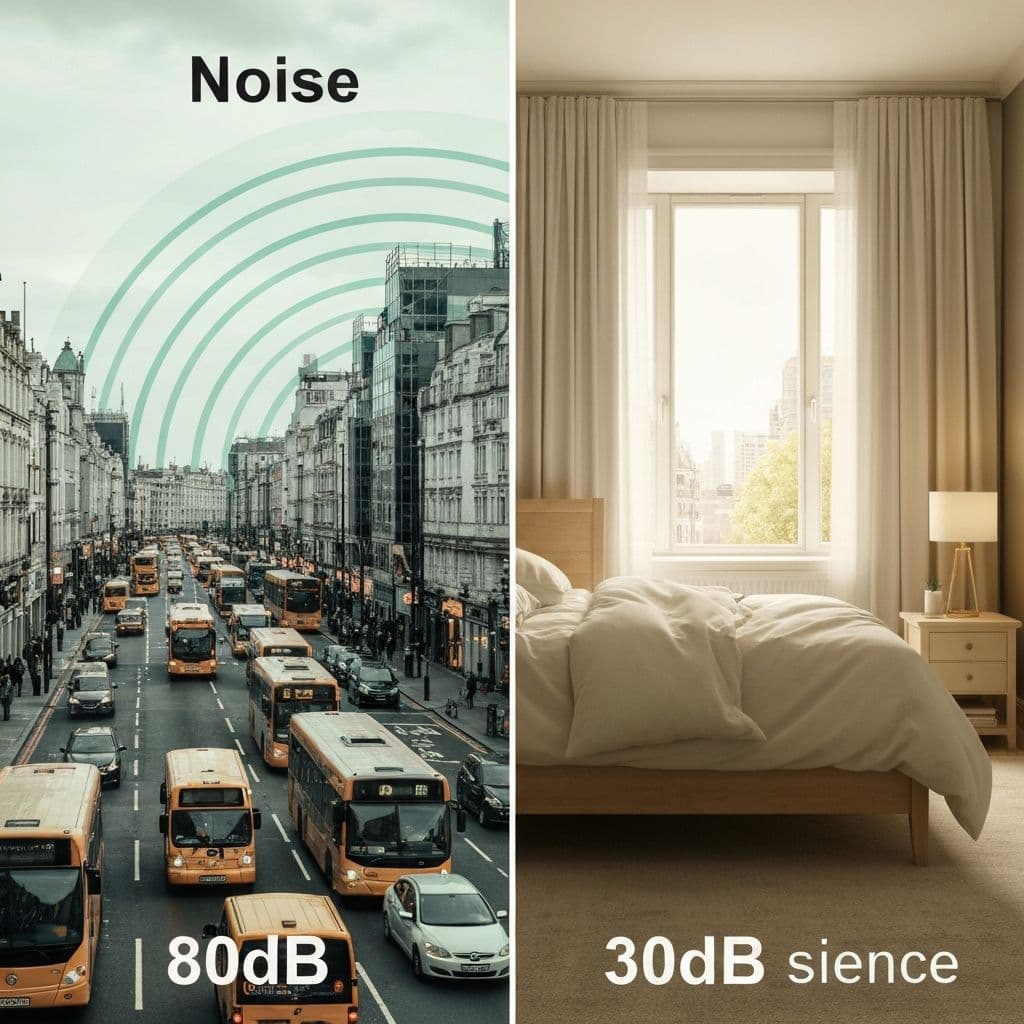
- Noise reduction is important (traffic, aircraft, neighbours)
- You own the property and want lasting improvement
- The building is listed or in a conservation area
- You have period windows worth preserving
- Thermal performance and energy savings matter
- Appearance is important to you
- You want a proper guarantee
The Hidden Cost of DIY
Consider this: if DIY secondary glazing costs £150 per window but achieves only half the noise reduction and thermal improvement of professional installation, is it really cheaper?
You'll spend the money, spend your time installing it, and still hear the traffic. In three years, the acrylic will be scratched and yellowed, and you'll either live with it or replace it—possibly with the professional installation you should have chosen initially.
For most London homeowners with period properties, professional secondary glazing represents better value despite the higher upfront cost.
Getting It Right
If you're considering secondary glazing for a London property—especially a period home in Kensington, Chelsea, Islington, or any conservation area—we'd recommend getting a professional survey before deciding.
A good specialist will assess your specific situation, explain your options honestly, and provide a detailed quotation. If DIY would genuinely work for your circumstances, an ethical company will tell you.
Request your free survey or call 020 7060 1572 to discuss your project.